
Basic Photoediting Skills
Using Affinity Photo

Color Correction

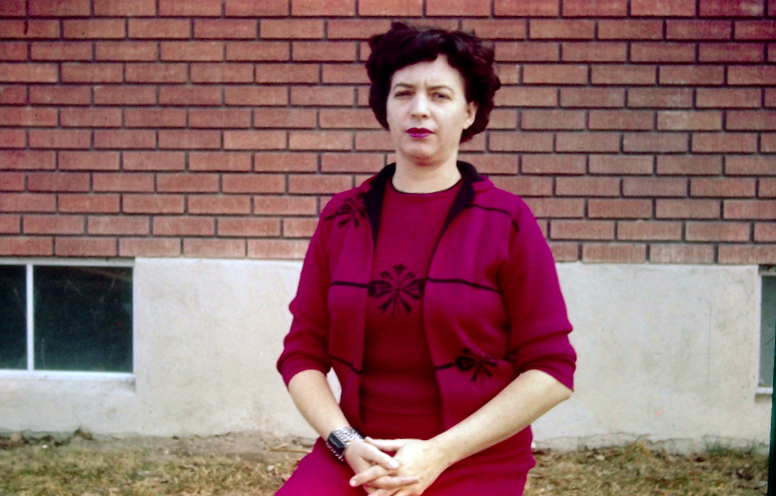
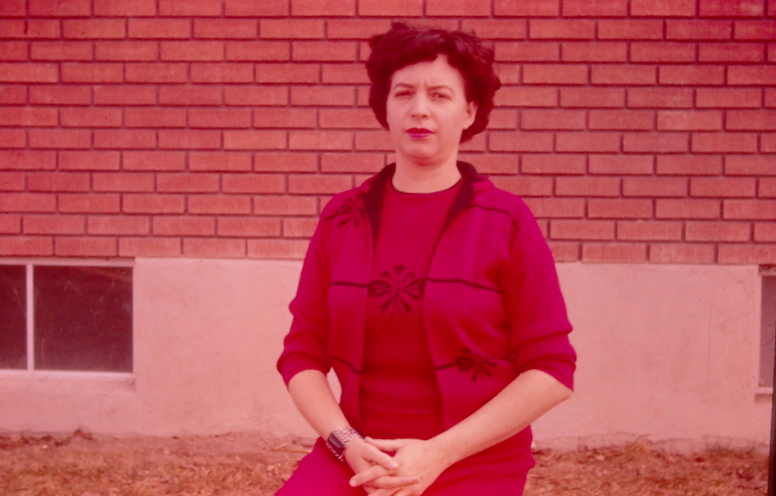
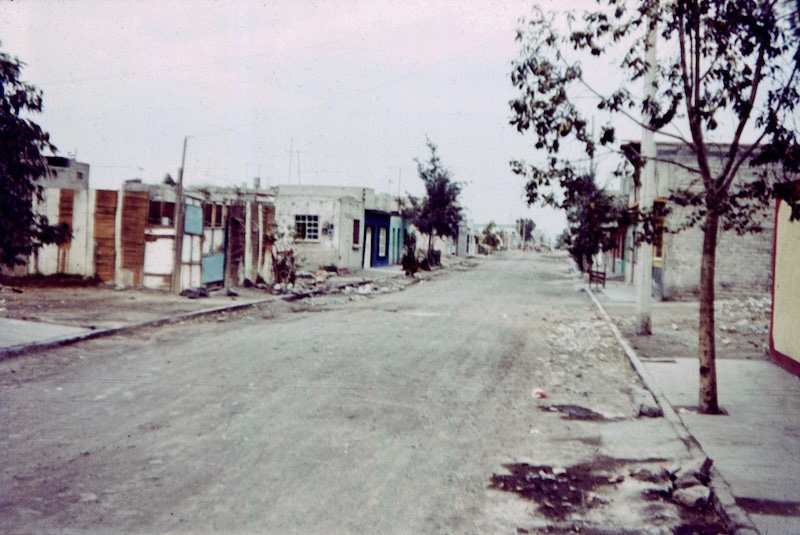
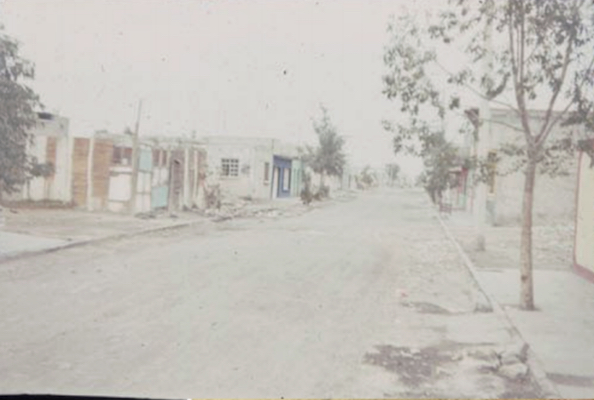
The "Levels Tool" is quite helpful to improve color tone, as well as improving a dark or light photograph. Poor color tone most often comes from the pigments in the photo paper or the slide film deteriorating over time. It is not unusual to see a greenish, bluish, or reddish color tone appear in an aging photo or slide.

We’ll show how we can use the levels tool to reduce the reddish color cast present in this photo. For many photos, using this tool is all that is needed to improve color tone.

~~ Download Image ~~

Lighting Problems

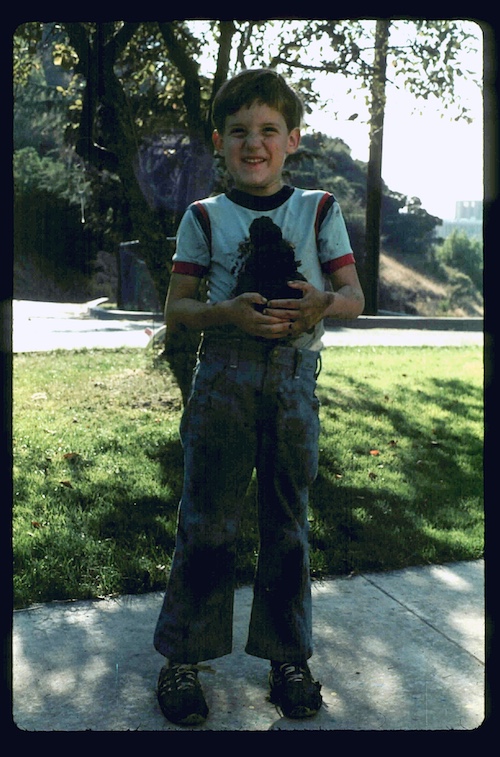
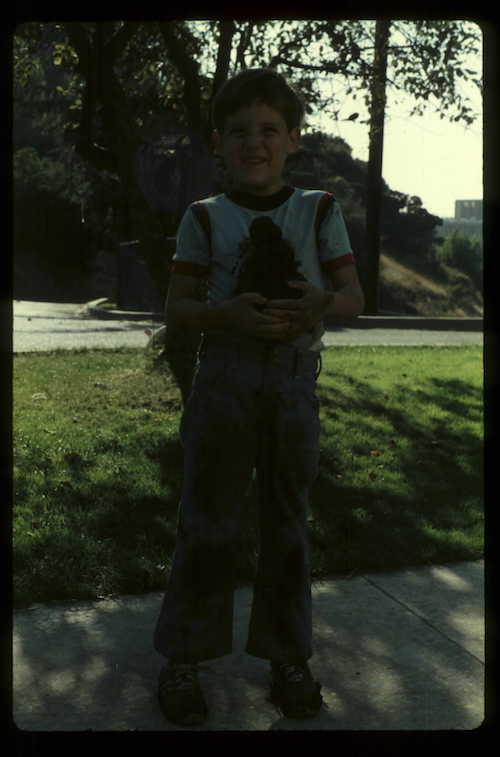
Before the digital era and improved light metering, photos would occasionally turn out as too dark or too light. Those older photos are then digitized with the lighting issues as they were taken.

We can correct most lighting problems using what is called the “Levels Tool”. This is a tool found in most photoediting programs. The higher end software apps will have a more sophisticated version of this tool, but for general correction of light, the one in PhotoPea.com works pretty well.

There is just one tutorial for the dark image, but the same principles apply to both types of lighting problems. Where there is too much “white” in areas of a photo, there is not much pixel data to work with. Dark photos do tend to be more “editable” in correcting light than overexposed

Straighten / Crop a Photo

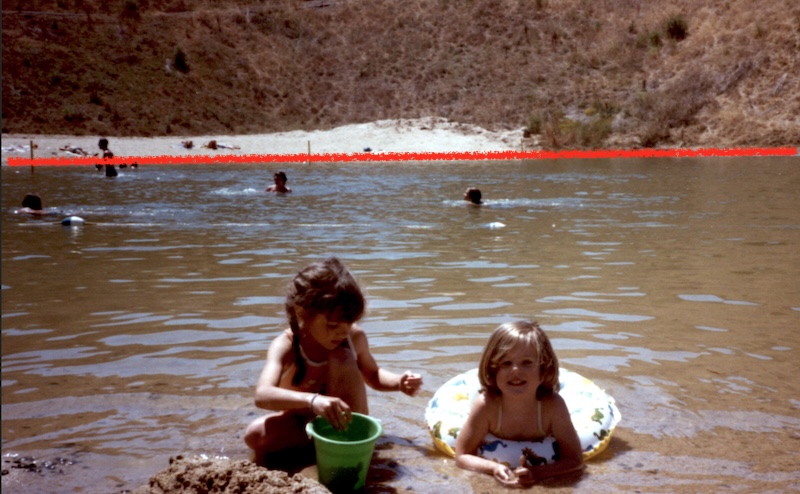
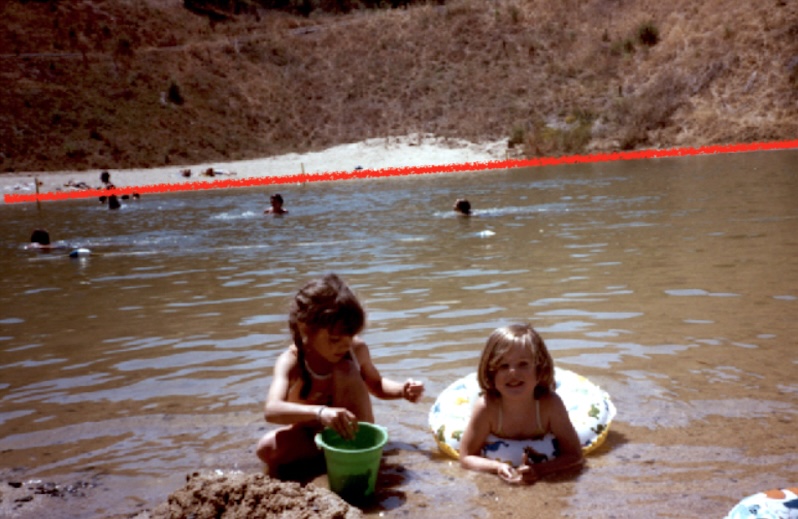
Not everyone takes photos with the horizona perfectly horizontal. The “Straighten Tool” can be helpful to quickly rotate the photo so that the horizon is flat.

“Cropping” a photo means that you can cut out parts of the photo that are not wanted. Suppose you have a person(s) off to the right of your central focus person(s). You could crop out those unwanted persons. Of course, realize that the image size, could be reduced some, and you may develop pixelation when the image is zoomed in on.


Straighten Tool Method


Free Transform Method


Removing Small Photo Defects

Reducing Photo File Size

There are times when you need to shrink the size of an image, such as to upload to FamilySearch, where the image has to be less than 15mb in size. Or perhaps you scanned your images at too high of a DPI scanner setting and they are huge in size.

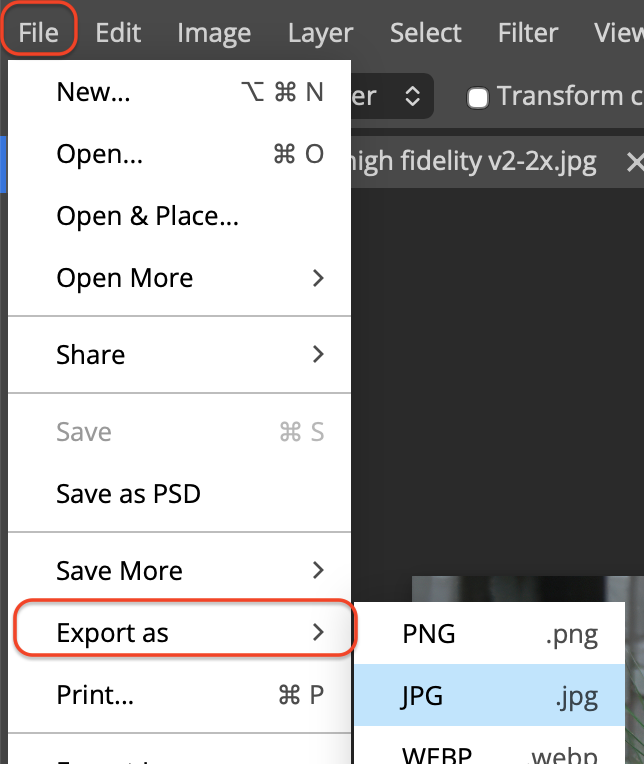
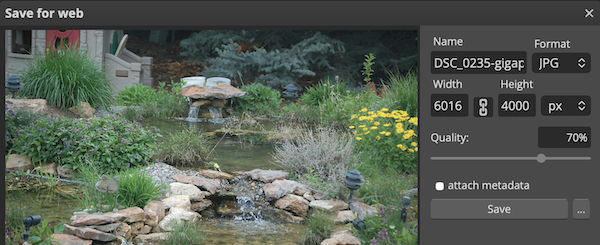
PhotoPea can be used to reduce the size of your image. With your image in PhotoPea, click on the “File” menu, then “Export As” and choose JPG as the image type. The dialog box will open up showing the image with the filename, its dimensions at 6016 pixels wide x 4000 pixels tall. There is also a “Quality” slider displayed.

There are two ways to reduce your image size. The first way is to reduce the dimensions. 6000 pixels across, when printed on a commercial printer at 300 dpi, would easily print to a 20” wide paper with great quality. A full discussion of this can be found HERE. Most of us do not need to have our image to be that large in dimensions. Even if we were to print to a 10” paper width, we would only need 3000 pixels in width. So why not change the settings in the dialog box to 3000. The height settings will automatically adjust to around 2000 pixels. This is the best way to reduce image size.

The second way to reduce image size is to reduce the quality of the image by changing the slider from 100% to something less. The original image size for the one shown was 18.2mb. When I moved the slider to 90%, the resulting image size was 8.4mb. This is probably the easiest way to reduce file size, but you are squeezing some pixels out of the photo, thereby reducing the quality, depending on what percentage you choose.

Once you have chosen your settings, click on the “Save” button and your image will be saved to your Downloads folder.
Additional Resources

Missionary Communications Board

© 2026 Stephen A Meyers, All Rights Reserved.

FamilyDiscoveries Menu

Tutorial Coming

FamilyDiscoveries Menu
